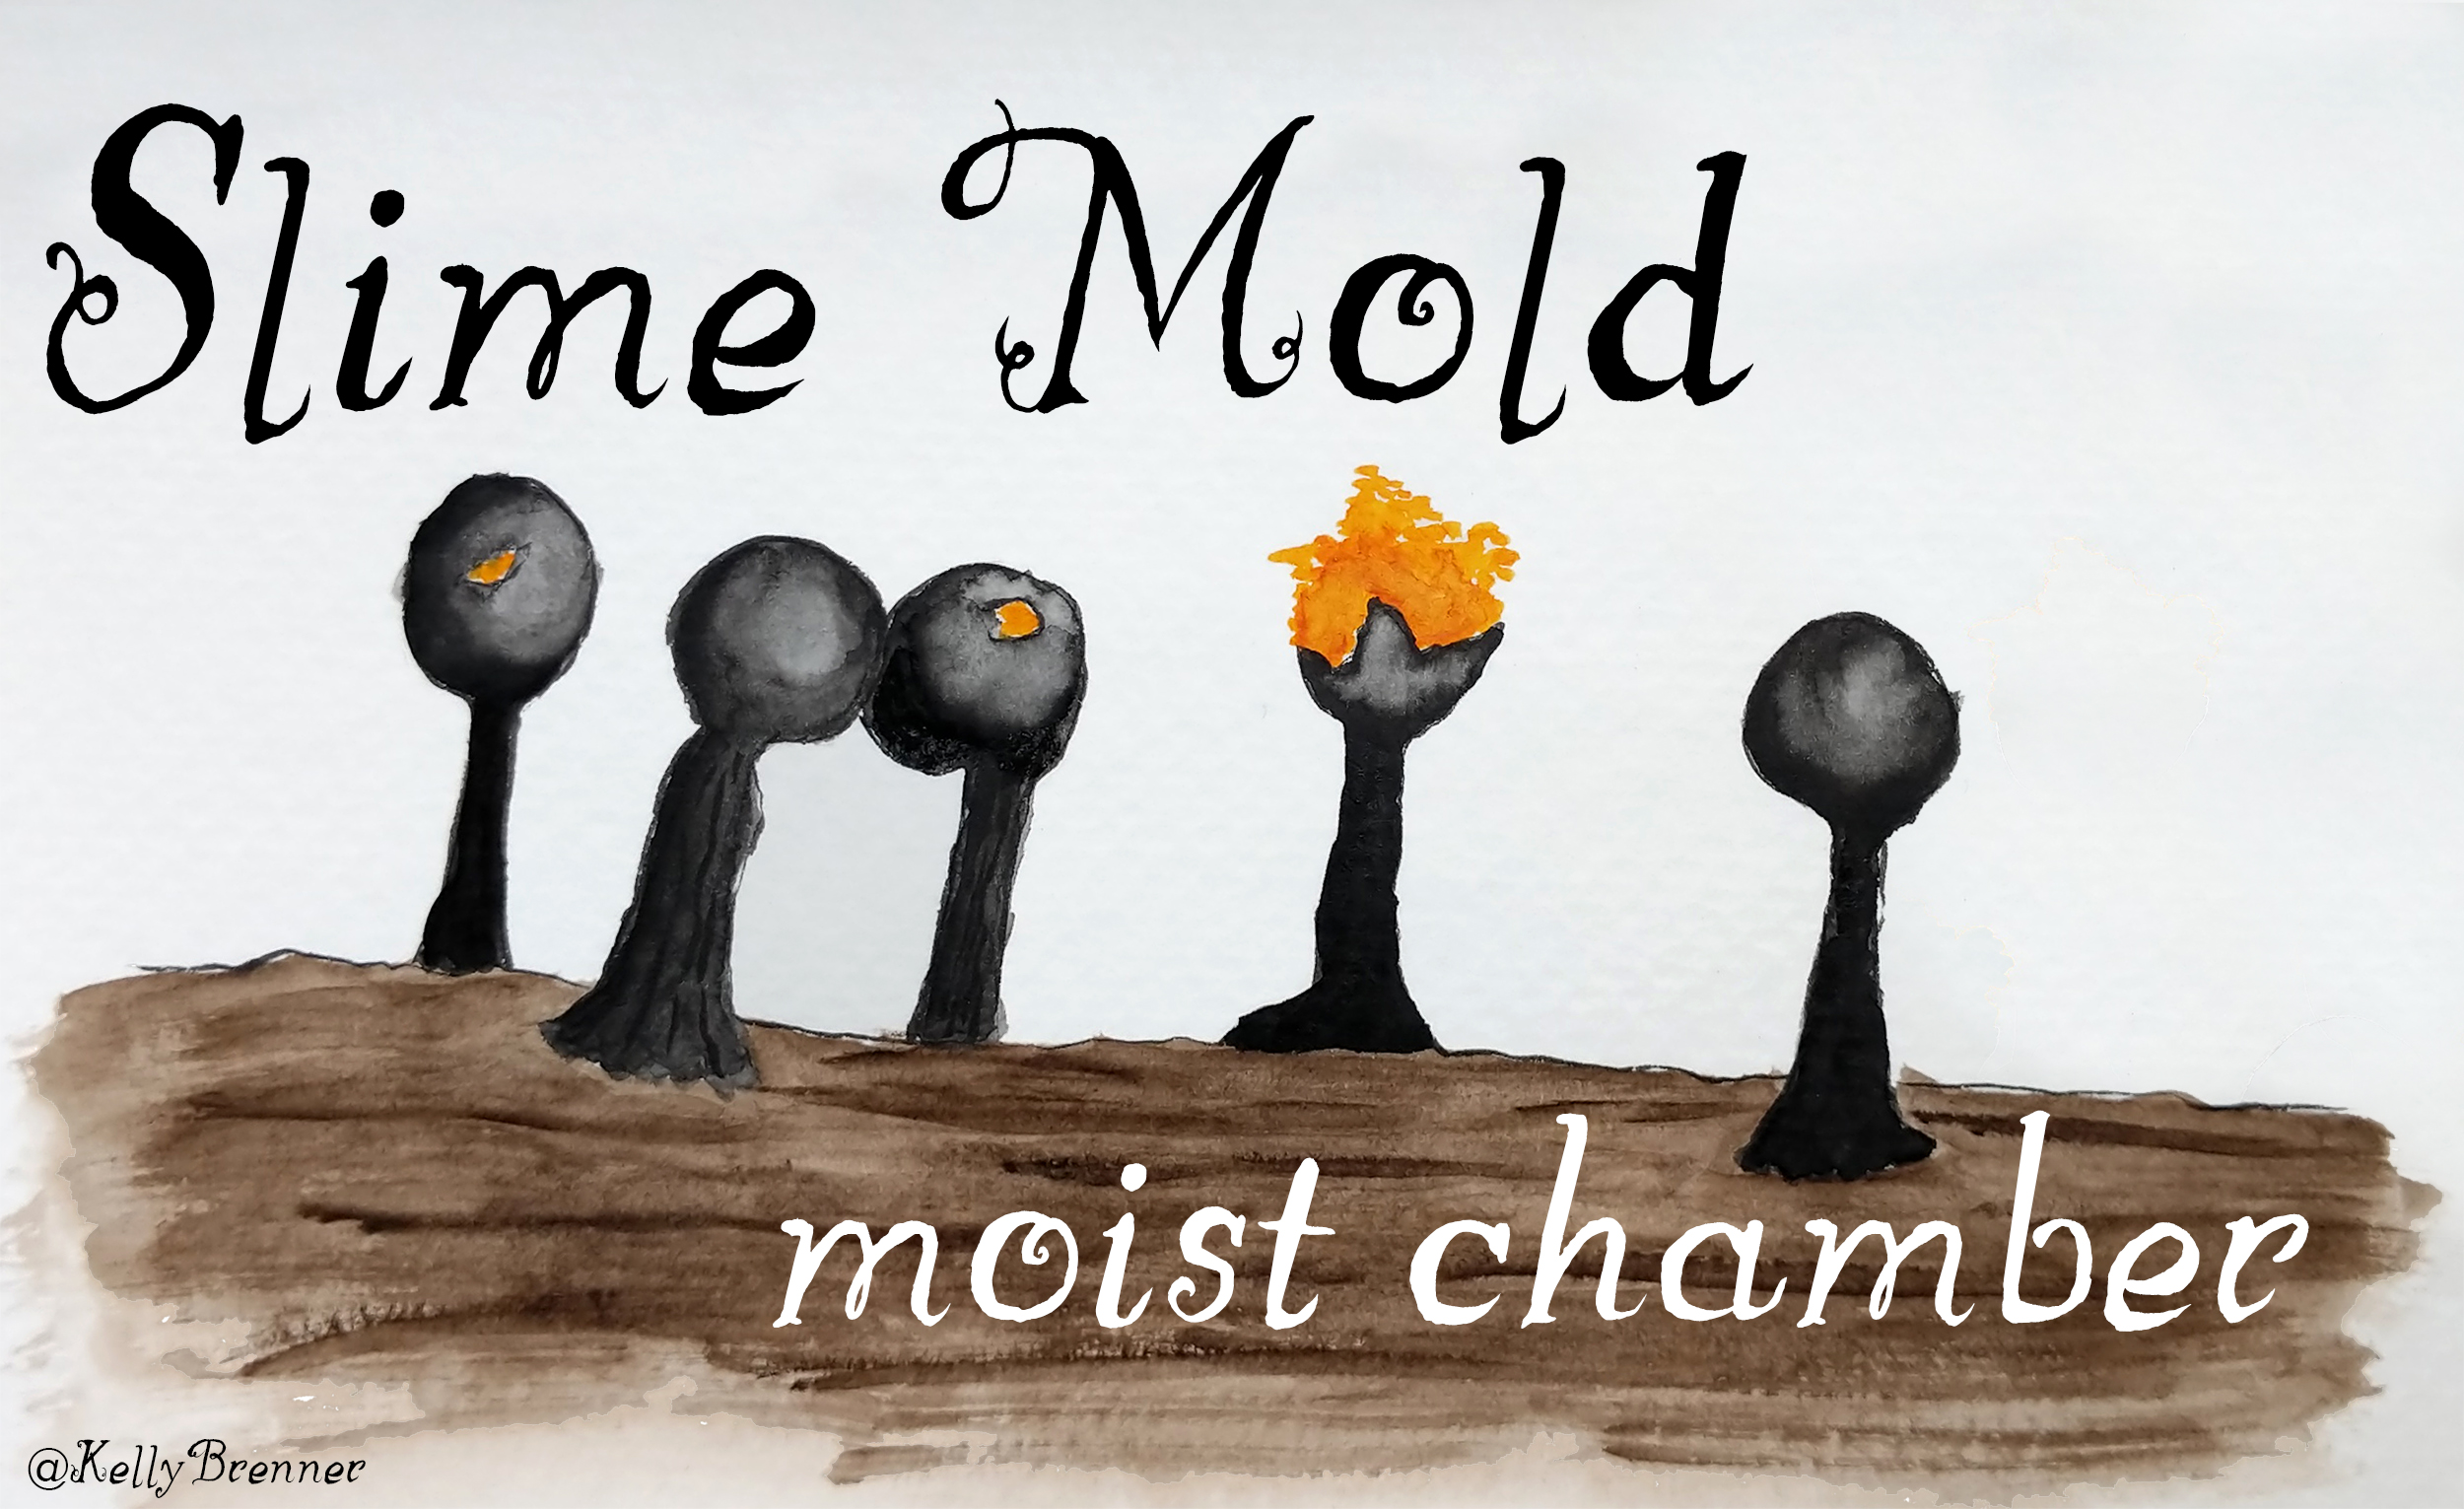
Searching for slime molds in the forest is a lot of fun, but what if you could bring slime molds to your desk and watch the fruiting bodies develop? Creating a moist chamber for slime molds, also known as Myxomycetes, is very easy and offers the potential to not only observe the development of slime molds, but to preserve the mature specimens as part of a collection. In addition it can be done year round when slime molds may not be present in the field.
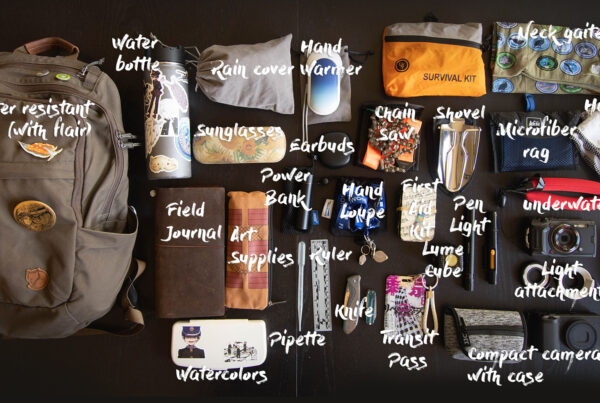
TOOLS
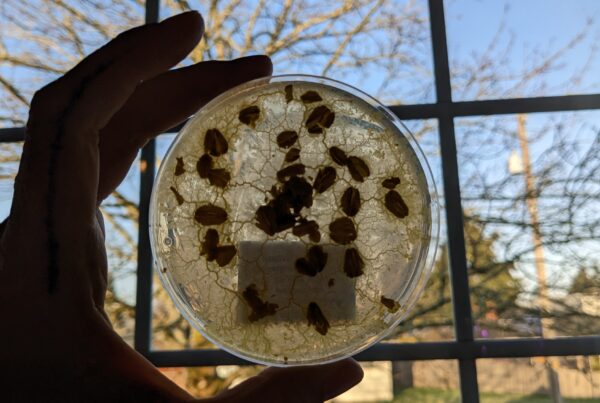
PETRI DISH: You’ll need a large petri dish with a lid. Plastic dishes work best in case the slime mold grows onto the container, it can be cut apart to preserve the mature specimen. But any clear, shallow container with a lid or cover can work. The idea is to create humid conditions.
KNIFE: To cut a piece of bark from a tree, you’ll want a good, sharp knife. A flathead screwdriver can also work to remove bark.
PAPER TOWEL: To help create humid conditions in your petri dish, a paper towel is needed to retain water at the bottom.
DISTILLED WATER: To keep the chamber humid, distilled water will be added regularly.
STEPS
COLLECT BARK: This method requires bark from a living tree. Each piece should be about the size of a stamp and come from the dead outer layer of the tree’s bark. Trees with loose bark can simply be pulled off, but other trees will require the use of a tool, like a knife or screwdriver, to remove from the tree.
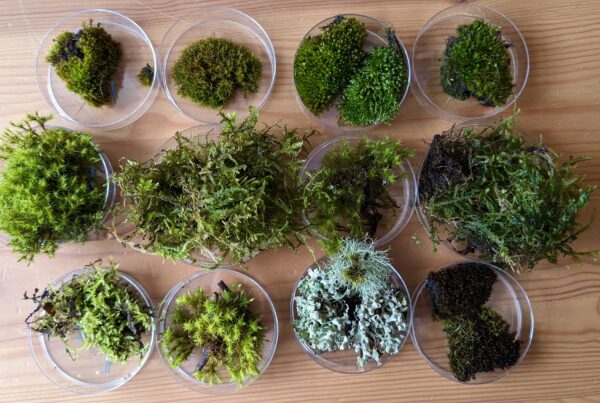
Generally speaking, trees with rough bark tend to produce more slime molds than those with smoother bark. Good examples are maple, oak, ash and elm. And deciduous trees likewise tend to yield more results than evergreen trees. However, this is not a method widely used, so feel free to experiment with whatever you like, you may discover something new! In addition to bark, other organic material can be tried such as leaves and even animal scat.
Make a note the type of tree, date and location you collect your bark from, especially if you’re collecting from several different trees.
Caution: Make sure to remove only the dead outer bark and do not cut into the living tissue to prevent any infections.
PREPARE THE MOIST CHAMBER: Once you have your bark, it’s time to set up your moist chamber. Cut a paper towel to the size of the petri dish and lay it first in the bottom. Next, place your bark, or other organic matter, on top of the paper towel, spaced so they’re not touching. Don’t combine bark from different trees, put each in their own dish, but multiple pieces of bark from the same tree can be placed together in one dish.
Completely cover the bark with distilled water, put the lid on top and set it aside overnight to absorb the water. Label the container with the tree type.
The next day pour off the excess water and again, set the dish aside where it won’t be disturbed. The moist chamber doesn’t need any special conditions, just regular room temperature and diffused light.
MONITOR: Every day or two, check the samples for any sign of slime mold growth for the first two weeks. Even if you don’t detect anything, you can keep monitoring them every week or so because some slime mold can take weeks or even months to develop.
Many of the larger slime molds do, in fact, take weeks or months to develop, but some of the tiny species that can only be seen with a microscope, can develop quickly, so if at first glance you don’t see anything, try placing the dish under a dissecting microscope and take a look, or use a hand loupe. If possible, try and keep the lid or cover on your dish when viewing with a microscope because removing the lid may interfere with development.
Add more distilled water when the bark samples begin to dry out.
If you’re lucky, you’ll end up with multiple species on the same sample.
PRESERVING SLIME MOLDS: If your bark does have slime molds develop, you may want to preserve them. Once they are mature, but before they open to reveal spores, move the lid slightly to let in a little air flow to help prevent mold growing on the slime mold bodies.
Once they are showing their spores, remove the bark with the slime molds on it from the moist chamber. Set them out and let them completely air dry.
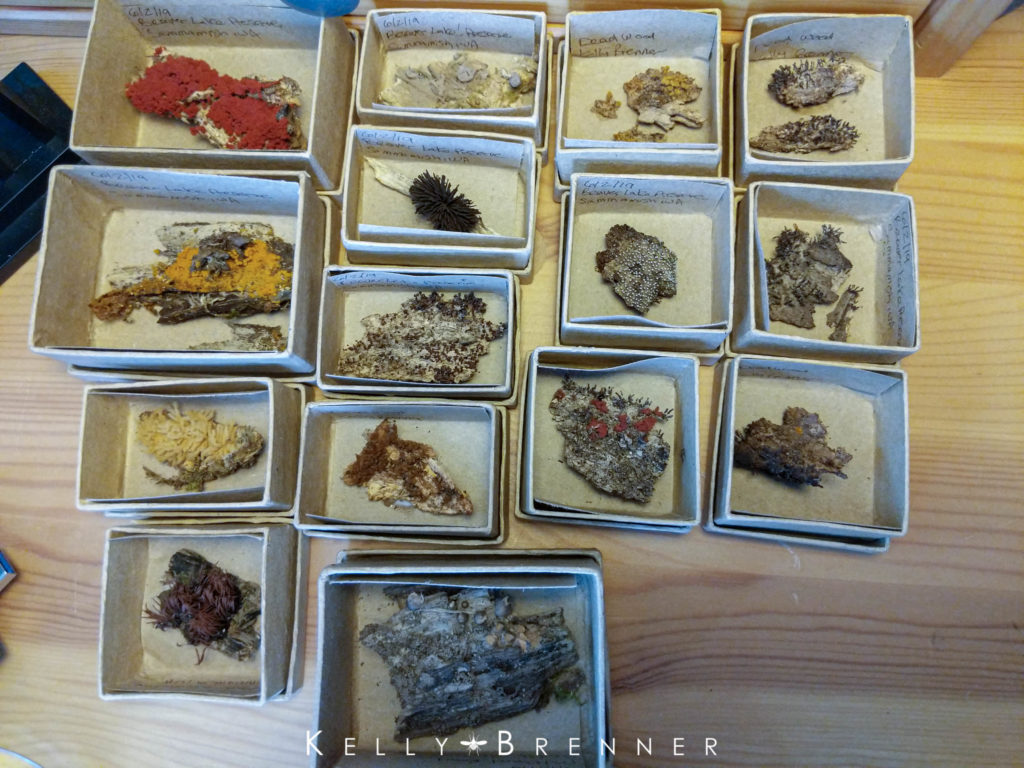
After the slime mold and bark is completely dry, place it in a small box. You can use craft boxes, match boxes, or any small, cardboard box. Some people like to glue the specimen to the lid, some glue it directly to the bottom of the box. I prefer cutting a piece of cardstock paper the length of the box and two sides. The two sides are folded and reach to the top keeping the slime mold snug and preventing it from being moved around in the box. This way the paper can be lifted out for study under a microscope and the collection notes can be written on it.
Before adding the box to your collection, freeze it for a couple of days. This will kill any invertebrates that may be in your sample who may eat and destroy the slime mold.
RESOURCES:
Slime Molds in the Laboratory II: Moist Chamber Cultures
Myxomycetes: A Handbook of Slime Molds by Steven L. Stephenson and Henry Stempen